 Gut health is always on my mind. Why? Your gut is the core or the “engine” of your immune system. Hippocrates said, “All disease begins in the gut.” Our gastrointestinal system contains gut flora, which helps protect our body from disease, supports our immune system, and aids in proper digestion. These are all key factors in leading a healthy lifestyle.
One of the best lines of defense in your wellness, is what you eat. It’s that simple.
I love to make cultured foods in our home. Yogurt is one of those staples. And it is so easy in an InstantPot! Here is a step-by-step recipe for you to enjoy in your own home!
Ingredients:
1 half gallon of organic or grass-fed pasteurized whole milk
2 Tbs organic plain Greek yogurt
Tips:
Make sure your yogurt is NOT ultra pasteurized. It’s not recommended and it didn’t work for me!
I HIGHLY recommend whole milk. Don’t skimp on the fat, it will compromise the taste.
Get PLAIN yogurt for best results. Besides, who needs the extra sugar and if it contains too much sugar it can mess up the culturing process.
Make sure your yogurt has “live and active cultures” listed on the back. You need these in order to “start” the culturing process of your yogurt. Are you beginning to see the science in this process?
I get the small, individual containers for my yogurt. Once you open the container, the cultures begin to die off, causing it to lose its efficacy in creating cultures for your new yogurt. Once you start making your own, you can use the yogurt from your own batch to make more. Just make sure the yogurt isn’t more than 5 to 7 days old.
Kitchen Accoutrements Needed:
Instant Pot
Digital Thermometer
Ladle
Wire whisk
Cup (for mixing starter yogurt with 1 cup of scalded milk)
Large bowl (for an ice bath and then straining yogurt)
Large colander (for straining yogurt – optional)
Tea cloth, cheese cloth or coffee filters (to strain yogurt – optional)
Preparation:
STEP ONE: WARMING THE MILK
Pour the milk into the inner pot in the Instant Pot.
Place and lock the lid and make sure the valve is moved to the “SEAL” position.
Press the YOGURT button and then quickly press the ADJUST button until you see the word BOIL on the display. This will slowly scald your milk. (Takes about 30 minutes.)
Take out the starter yogurt and place in a cup to get at room temperature. I use a Pyrex measuring cup so I don’t have to worry about the heat of the milk when I mix it together.
When the cycle is complete, the timer will beep. Don’t panic. Just make sure your digital thermometer is in reaching distance and unlock and remove the lid. Try to open and then lift back the lid quickly to avoid the water getting into your yogurt.
STEP TWO: COOLING THE MILK
Place the thermometer in the milk and it should read about 180 degrees or higher. I have never had it below that temperature, so this has never been a problem for me thus far. Remove the thermometer and the “skin” of the milk with a spoon or whatever works for you and then prepare an ice bath for the inner pot to cool down the milk. I use an avocado smasher from Pampered Chef to remove the skin. It works really well! Don’t laugh!
Press the CANCEL button to turn off the Instant Pot.
Place the inner pot of milk into the ice bath. This is a VERY FAST cool down for the milk, so make sure you stir it continually with the whisk to avoid “hot spots” in the milk. This only takes about five minutes or less! Once your thermometer reads between 110 to 115 degrees, immediately remove the pot from the ice bath and dry off the bottom of the pot with a towel. (If you cool our yogurt down too much, you can warm it back up a little by using the SAUTE button. Just CANCEL the yogurt cycle and then press SAUTE. Once it warms up, cancel the cycle again.)
Add about half a cup of warm milk to your starter yogurt and whisk until well blended. Add it back to your pot of milk and gently stir it with the whisk. Make sure you don’t scrape the whisk on the bottom of the pot! A film of milk is created on the bottom of the pot during the scalding step and it can affect the smoothness of your final yogurt.
STEP THREE: CULTURING THE YOGURT
If you have managed to heat and cool down your milk accordingly, the hard part is over! At this point, you place the inner pot back into the Instant Pot and lock the lid back on. Make sure the valve is turned to the seal position.
Press the YOGURT button again and hit the “+” button until you see 8:00 appear. (This stands for 8 hours of cooking time.) Pat yourself on the back for totally conquering the yogurt making process! Now go take a bath with some Epsom salt and lavender essential oil and get ready for bed. Tomorrow morning you will wake up to a pot full of delicious nourishing yogurt!
STEP FOUR: STRAINING THE YOGURT (OPTIONAL)
I love Greek yogurt so I always strain mine. If you like a runny yogurt then once the cycle is done you can just spoon the yogurt into a large container. I use mason jars for mine. Try not to scrape the bottom of the pot to avoid the milk film.
If you want Greek yogurt, then you want to get out your colander to strain your yogurt. I place the colander in the large bowl and then place a tea towel to strain mine. I have used coffee filters in the past and they worked very well but I found them cumbersome and it was annoying when they would move around when I was pouring the yogurt into the colander.
Cover the bowel with a large plate or any cover will do and place in the refrigerator for about 4 hours. The longer it strains, the thicker your yogurt. I did it overnight once and I found it to be too thick for me.
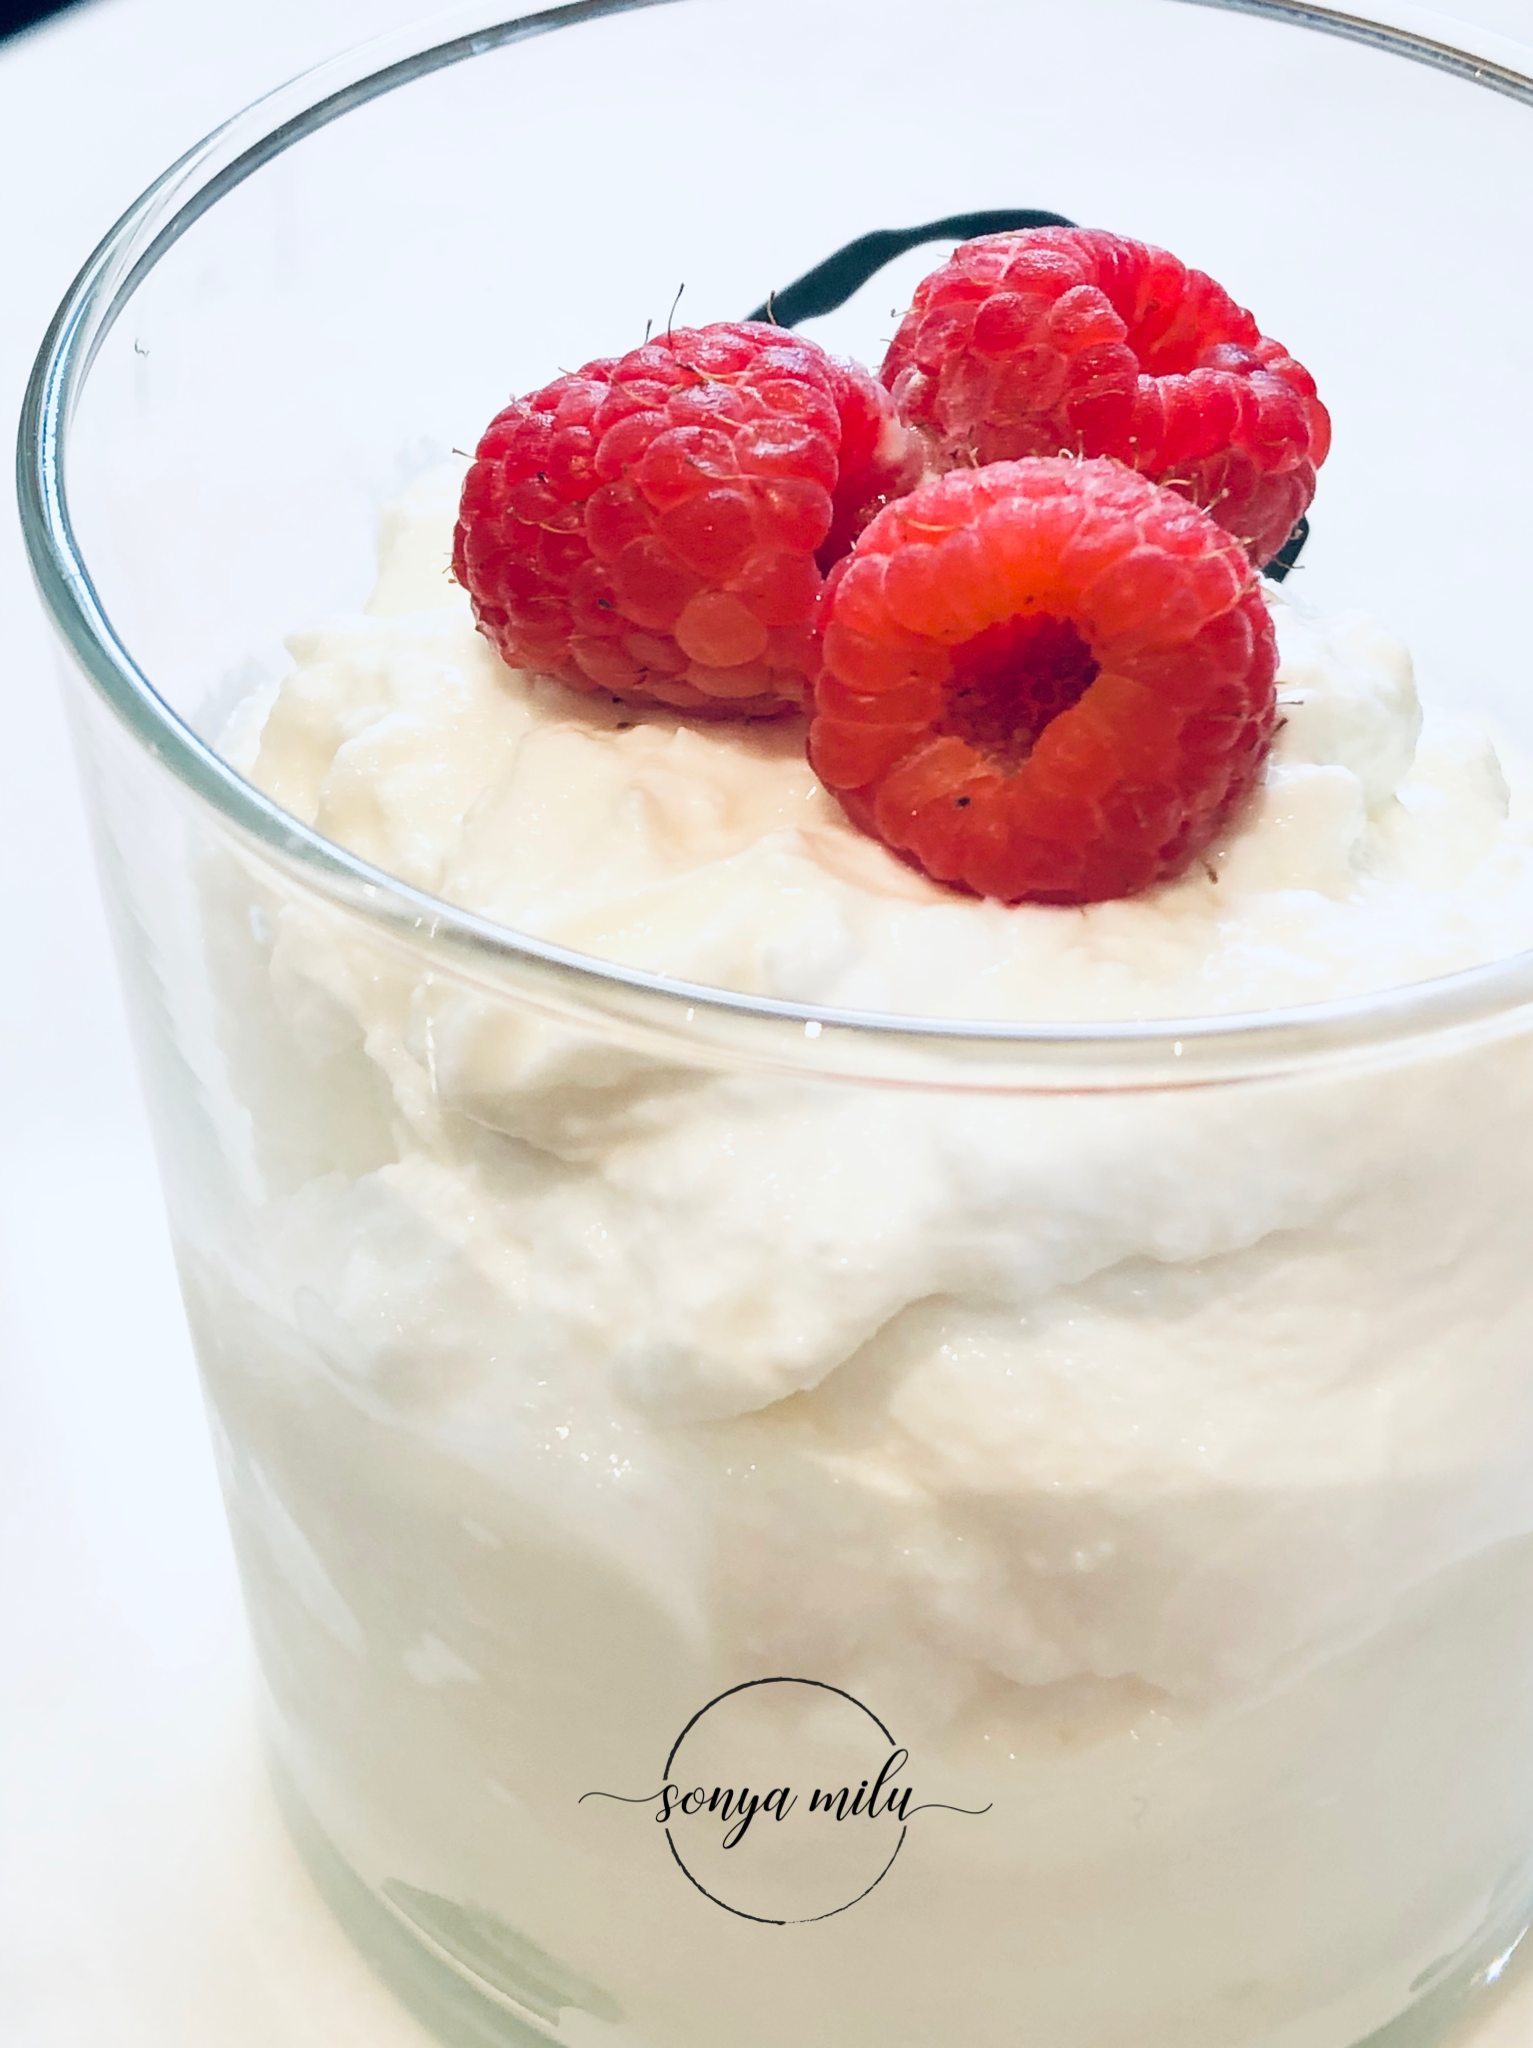
I keep my yogurt plain in the mason jar so I can use it in different ways. I use it with fruit, granola, smoothies and even sauces. My son’s favorite way to eat it is with a little honey, vanilla extract and fresh fruit. I hope you enjoy your new world of yogurt!
is a blog entry.